
Packing a hiking backpack may look like a simple task. Put all your belongings inside, close the zipper, adjust the straps, and you are ready to go. But when you are going to spend hours walking uphill, the way you pack your backpack can make a surprisingly big difference.
A backpack that feels fine when you first put it on can become uncomfortable after several hours on the trail. Worse, an unevenly packed bag can affect your balance, especially when you have to walk on steep, rocky, or uneven terrain.
This is particularly important when hiking Mount Rinjani. The trail does not simply take you uphill at a comfortable pace. Depending on your route and itinerary, you may encounter long ascents, loose volcanic sand, rocky sections, steep descents, and changing weather conditions. During a summit push, even a relatively small amount of unnecessary movement from your backpack can make the hike feel more tiring.
So, before you think about how much you can fit inside your backpack, think about how you should pack a hiking backpack properly.
If you are preparing for a climb, here are five practical ways to pack your hiking backpack so it feels more stable, comfortable, and manageable on the trail.
5 Best Ways to Pack a Hiking Backpack for a Safe and Comfortable Hike
Before putting everything into your backpack, try separating your equipment based on three simple considerations: weight, size, and frequency of use.
A backpack should feel compact and stable when you carry it. Loose items can move around as you walk, while bulky equipment attached carelessly to the outside can shift your center of gravity.
For an ascent, you can arrange your backpack into these five areas.
1. Top Compartment
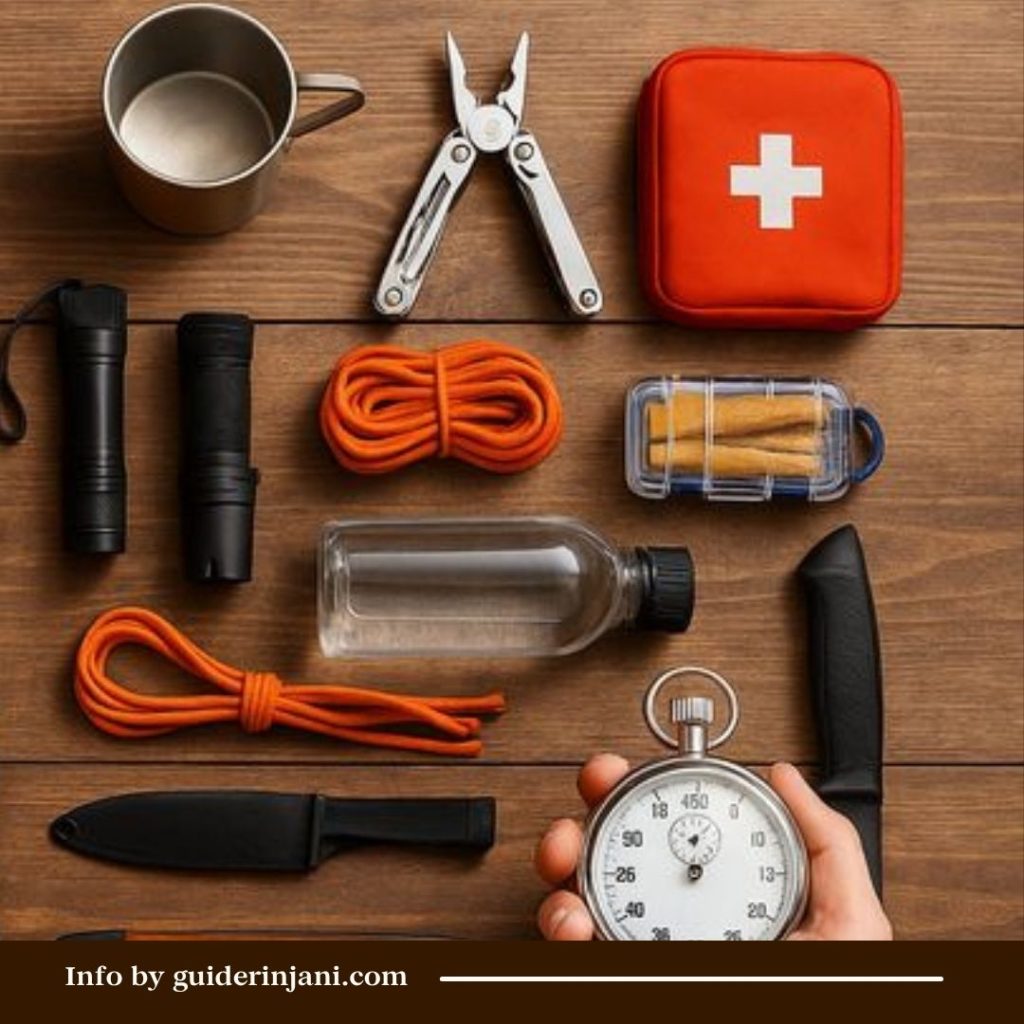
Let’s start with the top compartment. This is one of the most convenient places for small items that you may need during the hike. Since you can access this area without completely opening your backpack, it is better reserved for equipment that is relatively lightweight and frequently used.
For example, you can put your survival kit and rain jacket here. A rain jacket is a particularly good example because you may need it suddenly when the weather changes. You do not want to unpack half of your backpack just to find it.
The same principle applies to other small essentials. If something is important but does not need to be buried deep inside your backpack, the top compartment is a practical place for it. You can also use this area for other lightweight essentials that you may want to access quickly, depending on your hiking needs.
The important thing is not to turn the top compartment into a place for heavy equipment. Remember, the goal is not simply to distribute your belongings across different pockets. You are trying to maintain a stable load while keeping important items easy to reach.
If you put dense or heavy objects in the top compartment, the weight can sit farther away from your body’s center of gravity. That can make the backpack feel less stable, particularly when you are walking over uneven ground.
So, keep this section light, organized, and accessible.
2. Upper Interior
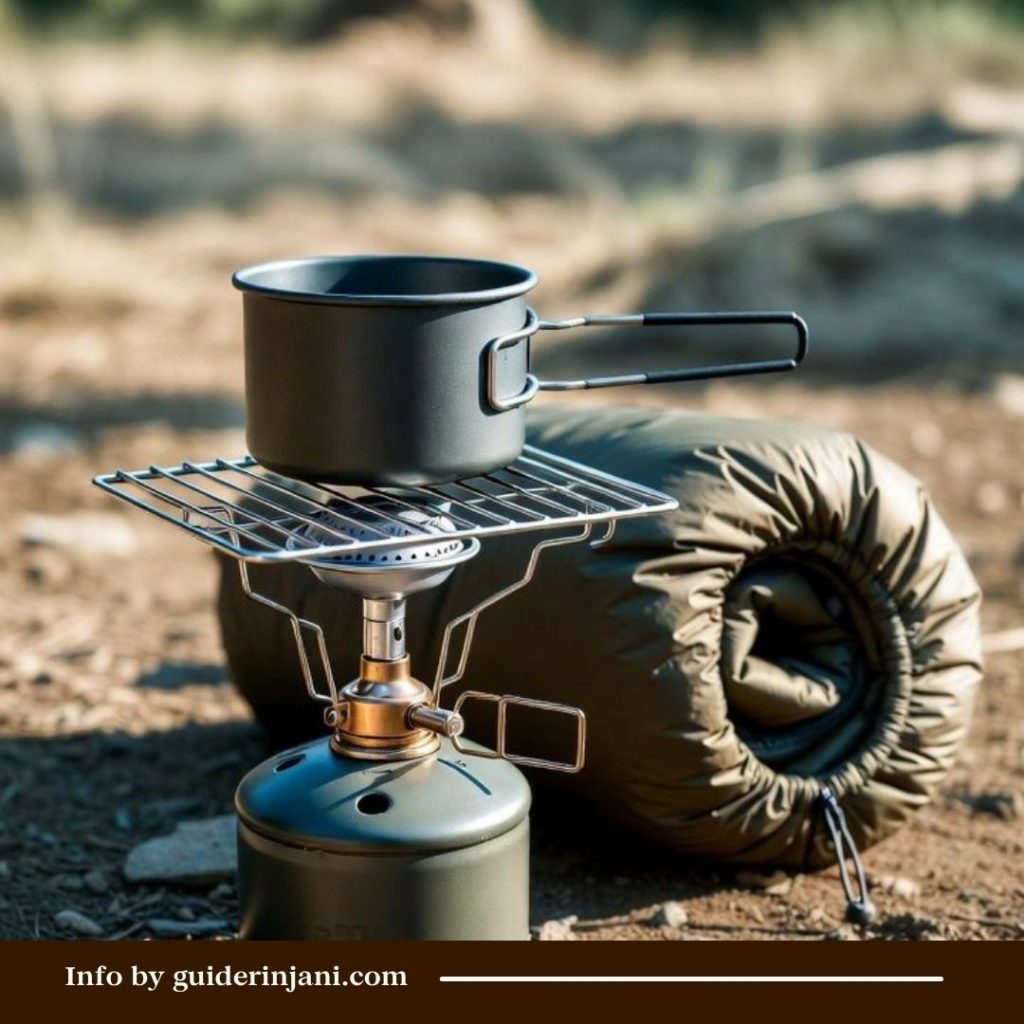
Next, move to the upper interior of the main compartment. This area can hold equipment that is relatively light but may still be needed during your hike or when you arrive at a temporary camping point. Some examples include cooking equipment, a flysheet, or a jacket.
Why a flysheet?
Imagine that you suddenly need to create a temporary shelter because of rain or another unexpected situation. You do not necessarily want to dig through the deepest part of your backpack to find it.
The same logic applies to your cooking equipment. If you plan to stop and prepare something before completely unpacking your camping equipment, placing it toward the upper interior can make the process easier. Your jacket can also go here if you do not want it in the top compartment.
The key is to keep the items relatively light. A common backpacking principle is to place lighter equipment toward the top while keeping heavier equipment closer to the back panel and around the middle of the pack.
This arrangement also makes sense from a practical perspective. You want the dense weight to stay closer to your body rather than creating a load that pulls your shoulders backward.
3. Back Panel Interior
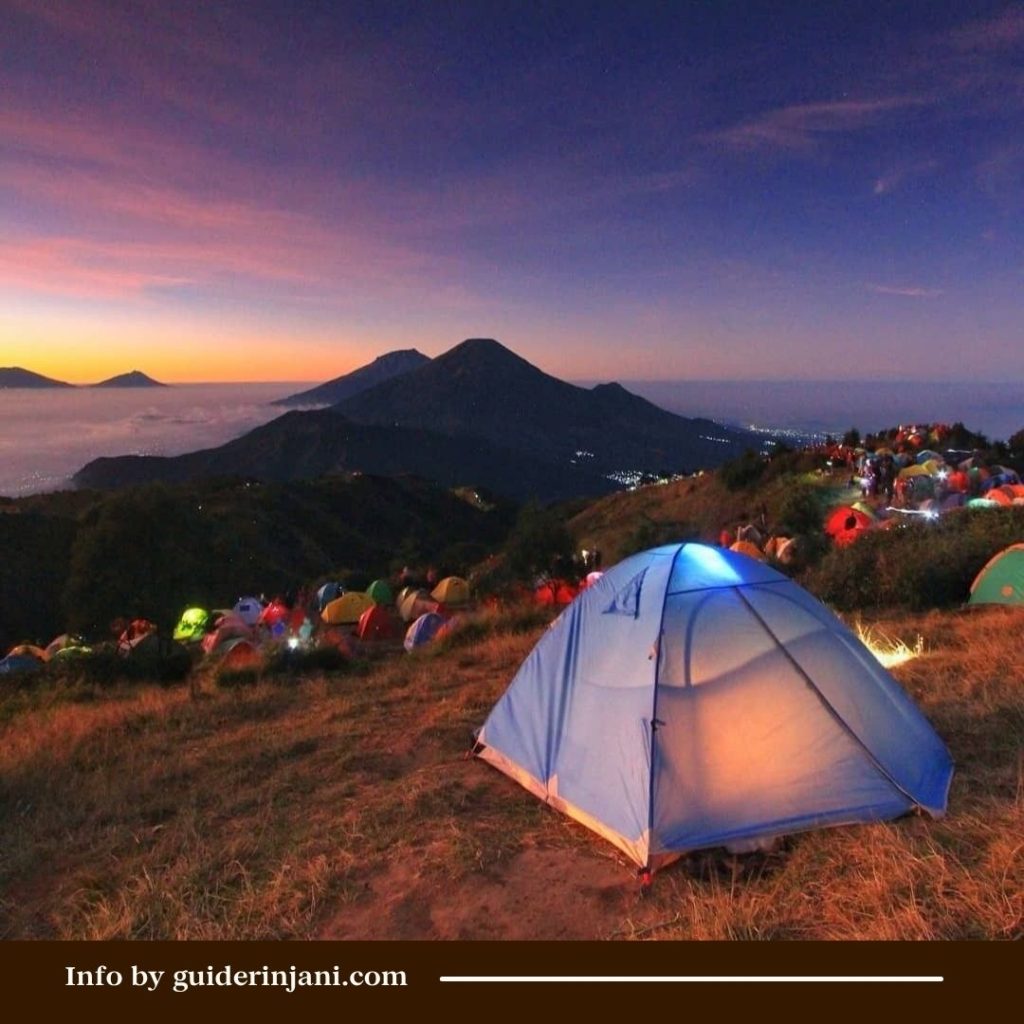
Now we reach one of the most important parts of how to pack a hiking backpack. The interior section closest to your back should generally carry your heavier equipment. For a hiking trip, one example is the tent.
Instead of placing the tent at the bottom of your backpack or hanging it loosely outside, you can position it vertically inside the backpack, close to the back panel. This position helps keep the weight closer to your body.
Why does this matter?
When the heavier equipment sits close to your back, the load feels more integrated with your movement. When the heavy load sits far away from your body, the backpack can feel as though it is pulling you backward.
This becomes particularly noticeable on an uphill trail. For this reason, avoid putting your heaviest equipment in the outer pockets or hanging it from the outside of the backpack simply because there is more space there. Keep it inside, close to your back, and reasonably centered.
At the same time, make sure the left and right sides remain balanced. A backpack that is heavy on only one side can create another problem: your body may compensate for the uneven load while walking.
4. Outer Side Pockets: Keep Them Light
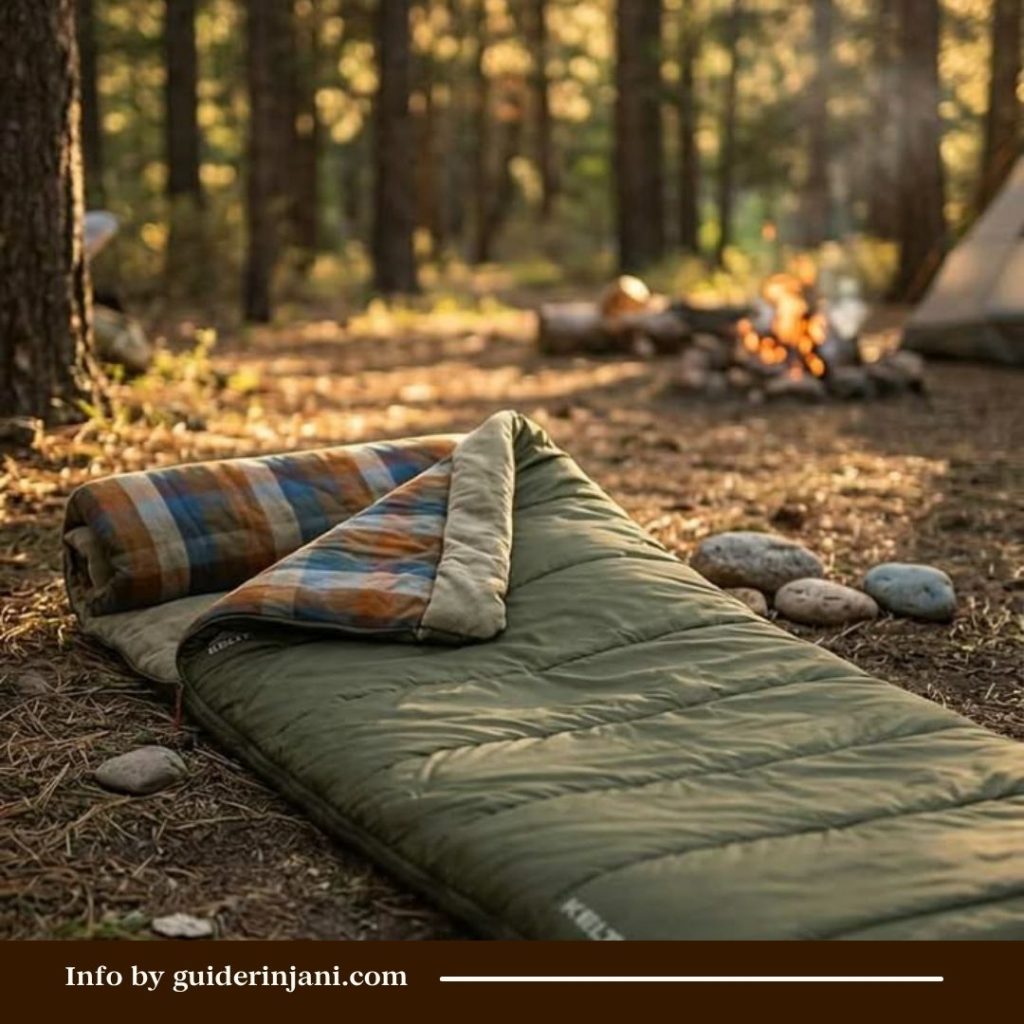
The outer side pockets are useful, but you need to be more selective about what you put there. For an ascent, use these spaces for lighter items rather than heavy equipment. One example is your sleeping bag if your backpack design allows you to store it safely in this area.
The important idea here is that the outer side of the backpack should not become a place for dense, heavy objects. Why? Because anything positioned far from your back can influence your balance more than the same weight placed close to your body.
There is also another practical concern. Items attached to the outside of a backpack are generally more exposed to branches, rocks, rain, and accidental impacts. Some hikers prefer keeping bulky equipment inside the pack whenever possible for additional protection.
So, if you have space inside the backpack, use it wisely.
If an item is light and does not need significant protection, an outer pocket can be convenient. If it is heavy, fragile, or likely to interfere with your movement, think twice before putting it outside.
5. Bottom Compartment
Finally, we have the bottom compartment. This is a good place for things that you will not need frequently while hiking. For example, you can put your change of clothes here.
But do not simply throw your clothes into the bottom of the backpack. Pack them neatly and, ideally, protect them from moisture using a waterproof bag or another suitable protective layer. This is especially useful when hiking in a mountain environment where rain and humidity can change quickly.
The bottom compartment is suitable for items that are relatively light and do not need to be accessed regularly. This is why clothing can work well here.
You probably will not need to stop halfway up the trail just to take out your spare clothes. You will most likely use them later, perhaps when you arrive at camp or prepare for the night.
Also Read: How Many Days for the Rinjani Trek via Sembalun & Torean?
Your Backpack Should Be Packed for the Trail, Not Just for Storage
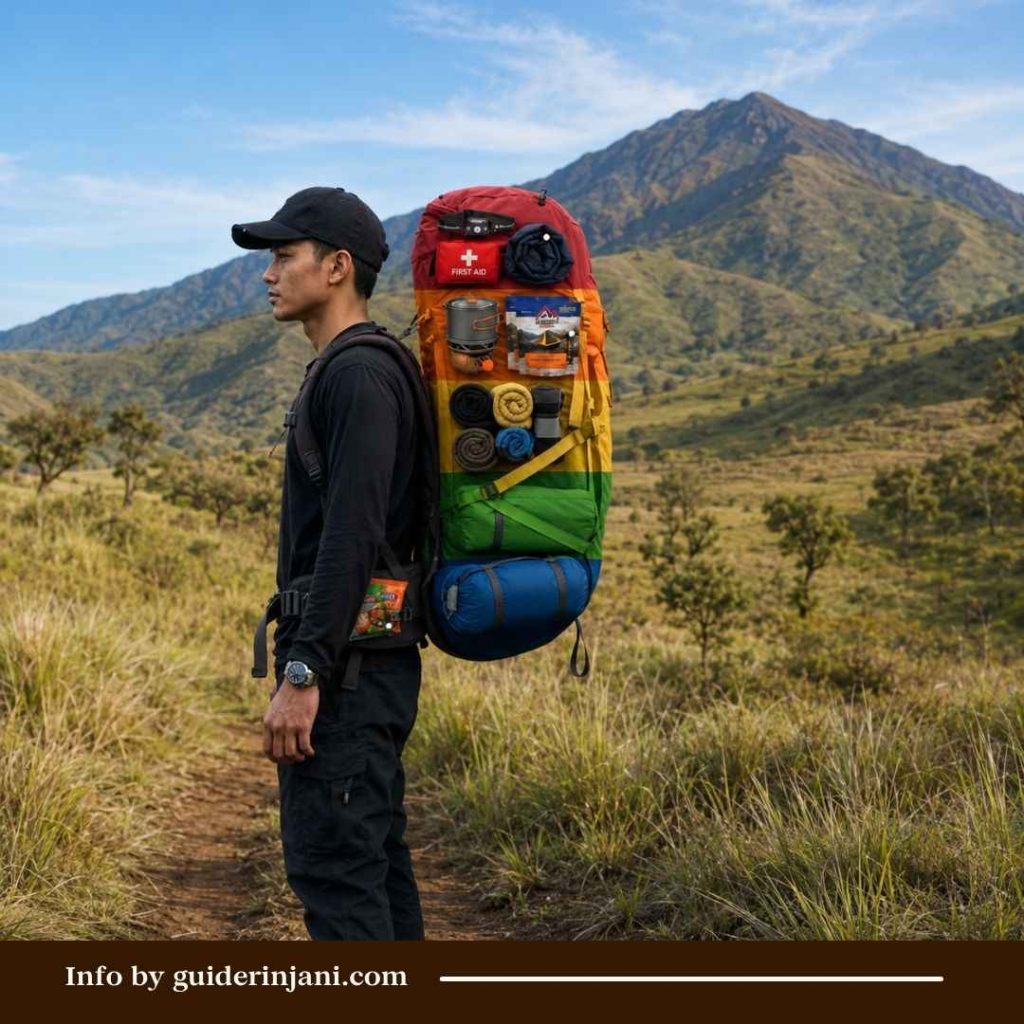
There is another thing hikers sometimes forget. Packing is not only about making everything fit. It is about preparing your backpack for movement.
A backpack that looks perfectly organized when it is sitting on the floor can still feel uncomfortable when you start walking. This is why accessibility, weight distribution, and stability matter as much as capacity.
Before leaving, try wearing the fully packed backpack.
- Walk.
- Bend slightly.
- Climb a few stairs if possible.
- Check whether the backpack moves excessively or pulls your body in one direction.
If something feels wrong, rearrange it. This simple test can save you from a lot of discomfort later.
For Mount Rinjani in particular, this matters because you may spend long hours on the trail, and the conditions can become considerably different as you gain elevation. Current Rinjani trekking guidance also emphasizes keeping personal daypacks practical and easy to access, particularly when porters carry the main camping equipment.
So, if you are joining a guided Rinjani trek, you may not even need to carry the entire camping load yourself. Your personal backpack can focus on the things you actually need during the day’s hike. That can make the packing process much easier.
Also Read: Nearest Airport to Mount Rinjani for International Hikers (2026)
Planning Your Rinjani Trek? Talk to Irwan Trekker First

Looking for a Rinjani trekking guide that understands what international hikers expect from a comfortable trekking experience? We recommend Irwan Trekker as one of the guides worth considering.
They have received excellent reviews from international hikers on Google, which suggests that their service may offer the kind of comfort, communication, and support that non-local trekkers are looking for.
But before making your decision, why not contact them first? Ask about the trekking package, itinerary, facilities, and what you can expect during the hike. This way, you can see whether their service matches your expectations before booking.
Even better, you do not have to pay the full amount upfront. You can secure your trekking package with a 20% deposit, giving you more flexibility while preparing for your Rinjani adventure.
Ready to plan your Rinjani trek? Contact Irwan Trekker today and see if they are the right guide for you!