
How to Cook Rice While Camping – Cooking rice while camping can feel surprisingly difficult, especially if you are used to cooking with a rice cooker at home. When you only have a small camping pot, limited water, and a portable stove, getting perfectly cooked rice requires a little more attention.
The problem is usually not the rice itself. It is the cooking process. Use too much water, and your rice can turn mushy. Use too little, and the bottom may burn before the rice becomes fully cooked. A fire that is too strong can also make the rice stick to the bottom of the pot.
But does that mean you cannot enjoy properly cooked rice while camping or hiking? Of course not.
If you are planning to cook your own meal during a mountain hike, including a multi-day camping trip, you only need a small nesting pot or camping pot, rice, clean water, and a portable stove. Once you understand the right water ratio, heat level, and cooking time, cooking rice at camp becomes much easier.
So, if you are wondering how to cook rice while camping, here is a simple method you can follow.
How to Cook Rice While Camping Without Burning or Making It Mushy
There are three important things that determine whether your camping rice turns out perfectly: the water-to-rice ratio, heat level, and cooking time. You do not need complicated equipment. What matters is controlling these three factors carefully.
1. Water-to-Rice Ratio
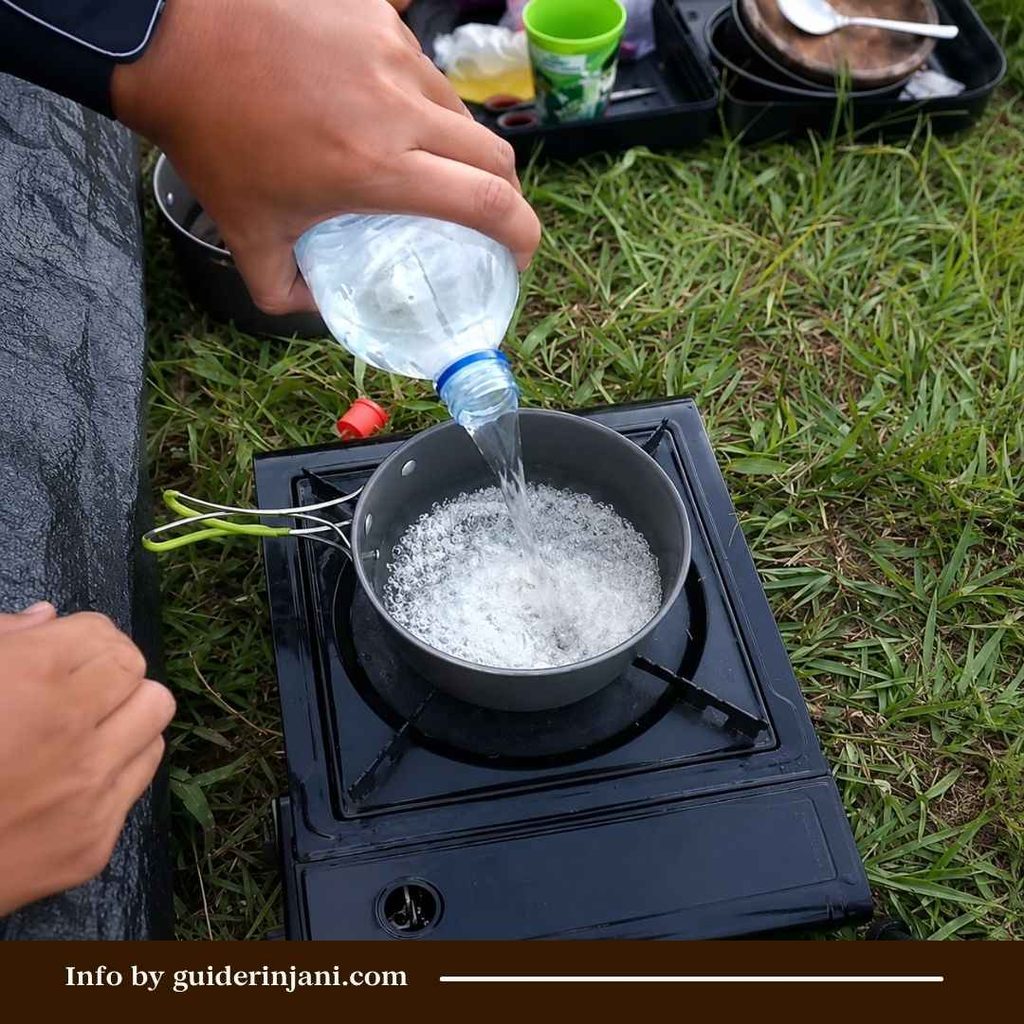
The first step is getting the water level right. Start by washing the rice as you normally would at home. Wash it until the excess starch and dirt are removed, then discard the washing water. After that, put the rice into your nesting pot or camping pot.
Now comes the important part. Add water until the water level reaches approximately one middle-finger joint above the surface of the rice. Pay close attention to this measurement. You measure the water from the surface of the rice, not from the bottom of the nesting pot and not from the surface of the pot itself.
This simple measurement is useful when you do not have a measuring cup available at the campsite.
Why does the water ratio matter so much? Rice needs enough water to absorb and soften during cooking. If you add too much, the rice can become overly soft and mushy. If you add too little, the rice may remain hard even after the water has evaporated.
When camping, you also need to consider that your cooking equipment is different from the one you use at home. A small pot placed directly over a portable stove can heat quickly, so controlling the amount of water becomes even more important.
Once you have added the correct amount of water, you are ready to start cooking.
2. Heat Level
The second important factor is controlling the heat. Turn on your portable stove and use medium heat at the beginning. Then cover the nesting pot with its lid. The lid helps the water reach boiling temperature faster while keeping steam inside the pot. This is important because the steam also helps cook the rice. Wait until the water starts boiling.
Once it reaches a boil, briefly open the lid and gently stir the rice. This helps prevent the grains from sticking to the bottom of the nesting pot. You do not need to stir continuously. In fact, constantly stirring rice can make it stickier and disturb the cooking process.
After stirring, put the lid back on. Now, this is the critical moment: turn the stove down to the lowest heat possible. Why?
The water has already reached boiling temperature. At this point, you no longer need strong heat. Excessive heat can cause the water to disappear too quickly, leaving the bottom of the rice exposed to direct heat. That is when burning usually happens.
Low heat allows the remaining water and steam to cook the rice gradually. It also reduces the chance of the bottom layer becoming scorched before the upper part is fully cooked.
Also read: How to Book a Mount Rinjani Trek? A Guide to Getting a Permit
3. Rice Cooking Time
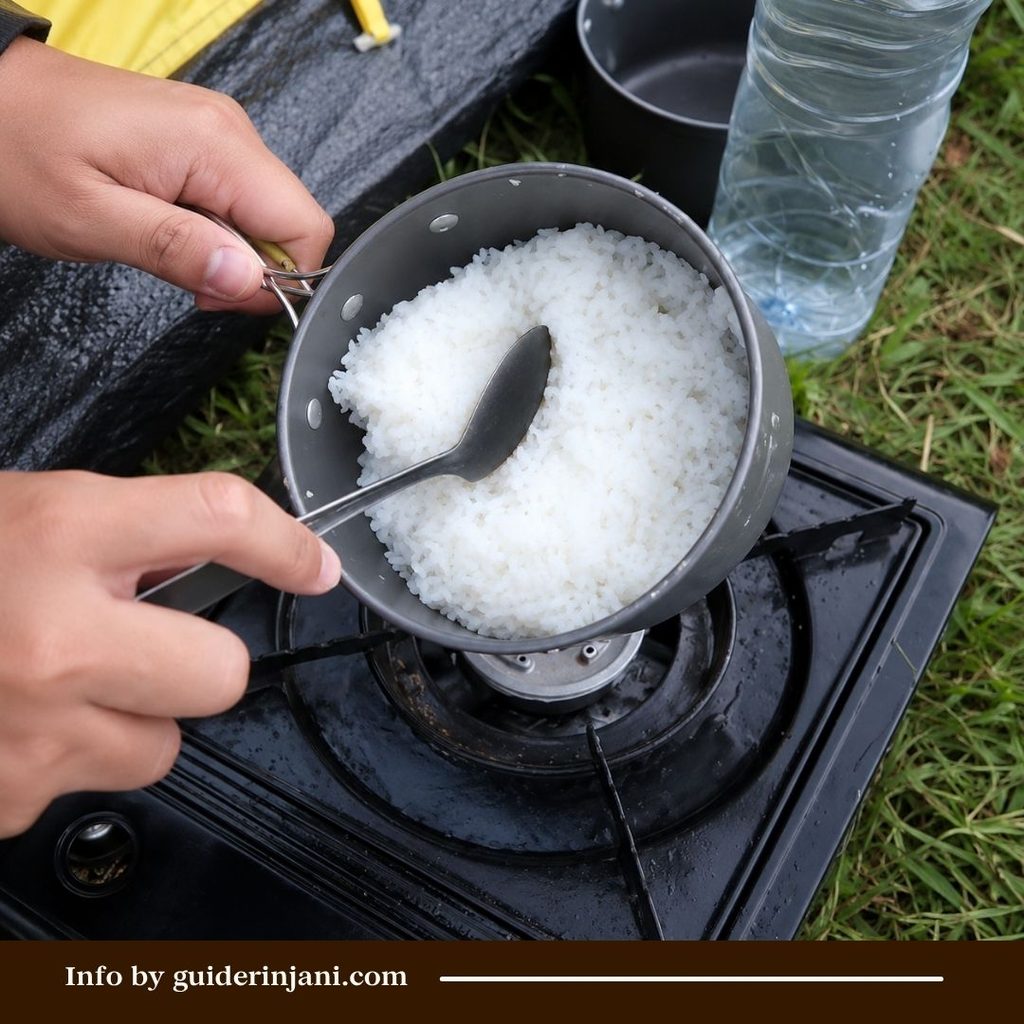
The final step is timing. Once you have lowered the heat, set a timer for 20 minutes. Do not shorten the cooking time simply because the rice looks almost cooked. Keep the lid closed while the rice cooks. Avoid repeatedly opening the pot to check the rice because doing so allows steam and heat to escape.
Let the rice cook for the full 20 minutes. When the timer rings, turn off the stove. But do not open the nesting pot yet. Set another timer for 10 minutes and let the rice rest inside the covered pot.
During these 10 minutes, the remaining heat and steam continue working inside the pot. The rice can finish absorbing moisture and become softer without being exposed to direct heat. After 10 minutes, you can finally open the lid.
If you follow the water ratio, heat control, and cooking time correctly, you should have nicely cooked rice that is neither burnt nor overly mushy.
Also read: Is Mount Rinjani Cold? “It Gets Crazy Cold at Night!”
Do You Need to Cook Your Own Meals on Mount Rinjani? No, We Can Cook for You!

If you are planning to climb Mount Rinjani for several days, you may wonder whether you need to bring rice, cooking equipment, and ingredients and prepare every meal yourself. The answer is no, you do not have to cook your own meals.
For foreign trekkers, the official Mount Rinjani National Park guidelines require the use of a Trekking Organizer (TO). The system is designed to support safer trekking and better management of trekking activities in the national park.
This means you can arrange your Rinjani trekking trip with a trekking organizer or tour company that can help manage the practical parts of your journey.
One example is Irwan Trekker.
With the team, you do not need to prepare all the ingredients for your meals yourself. Camping equipment, meals, and accommodation arrangements can be handled as part of the trekking service. Your job is to focus on preparing yourself physically and mentally for the trek.
You can still bring your own favorite snacks or small foods to give yourself additional energy during the hike. Snacks can be especially useful when you need a quick boost while walking or resting along the trail.
Meanwhile, the trekking team can take care of the larger camping arrangements, including meals and setting up camp. This can make a multi-day Rinjani adventure much more comfortable, particularly if this is your first time trekking a high mountain in Indonesia.
Planning your Rinjani trek?
Irwan Trekker has more than 10 years of experience and is officially registered as a trekking service provider. The team can help arrange your camping, meals, accommodation, and other trekking needs so you can focus on enjoying the journey.
Another convenient option is the payment system. You only need to pay 20% as a down payment (DP) when registering, while the remaining payment can be made when you meet the team at the pickup point in Lombok, Indonesia.
If you are still unsure, you do not have to book immediately. You can simply talk to the team first, ask questions, discuss your trekking plan, and find out what kind of Rinjani package suits you.
If you are ready to start planning your Rinjani adventure, contact Irwan Trekker at +62 819-1160-0199.